A fusion of sculpture and electronics where I tried to integrate tactile sound of Ghatam
with light and hand motion with electronic sound
About the project:
This project was developed during my tenure at FLAME University in collaboration with the Design lab and Sculpture studio with the guidance of
Prof. Shamit Shrivastav and
Prof. Amit Kundal. Our goal was to add
technology into clay, that is combining electronics and sculpture.
Prof. Arman Ovla
sculpted, baked and glazed these beautiful Ghatam with red clay at the sculpture studio,
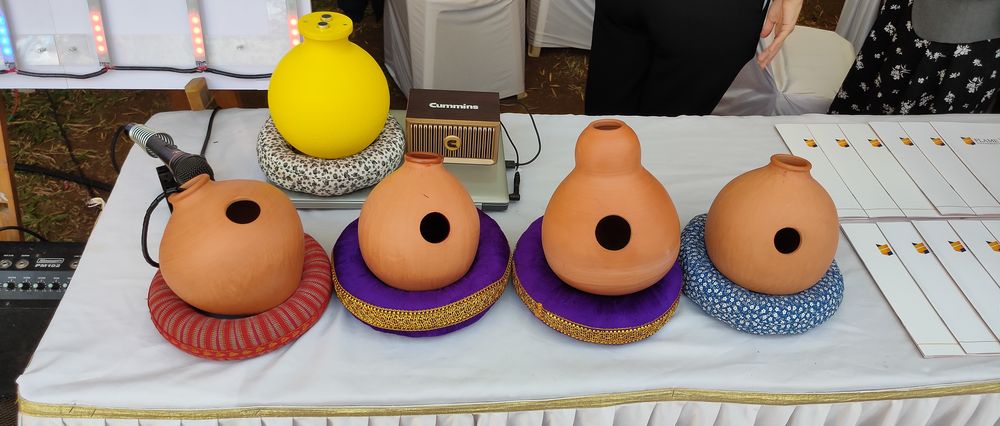
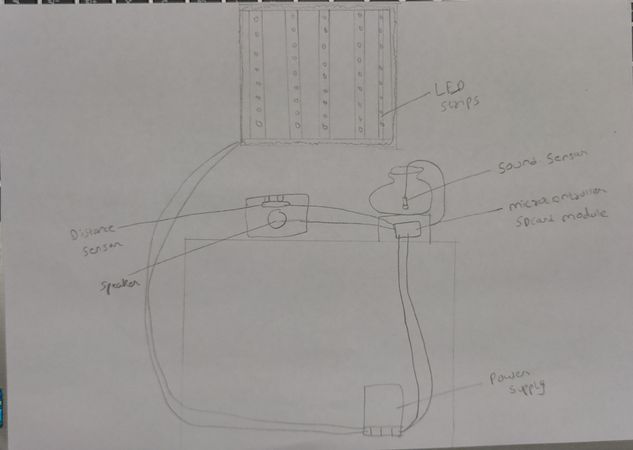
For the electronics, we decided to add lights and integrate them with the sound or beats of Ghatam. Depending on the intensity of the sound, the
number of LEDs will glow accordingly. I was able to achieve some of the intended goal,
for the light I used WS2812B 5V addressable LED strips, for detecting the sound I used Analog sound sensor.
Later we tried to integrate the motion of the hand with the electronic music, meaning that at certain distance, it will play different notes of
an instrument. For example if the hand is between 0-5 centimeter it would play Sa(C) note, between 5-10 centimeter play Re(D) note and so on.
After some trial and error, I was finally able to achieve the results which was close to what I had intended,
For detecting the distance of the hand I used an Ultrasonic sensor (HC-SR04), to play the notes I used a Micro SD card module, DFPlayer Mini MP3 Player Module
also known as MP3-TF-SD card module and for the sound output I used a normal speaker.
This is how I approached the project and eventually executed it,
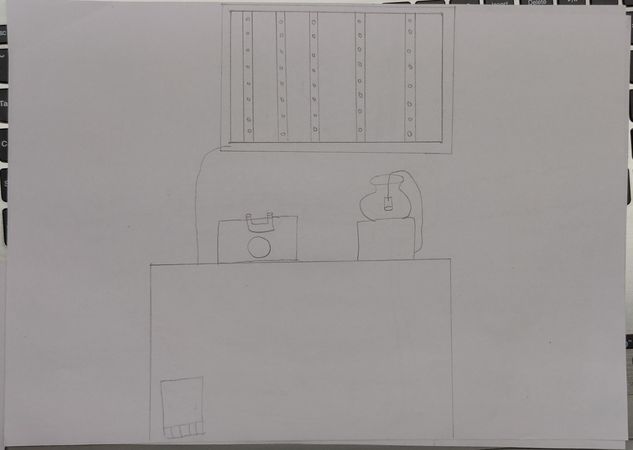
A rough sketch
Prof. Shamit Shrivastav insisted on making a rough sketch first
instead of just blindly executing the project without any plan. Fortunately the purpose was to have a better clarity on the goal and what would be
our course of actions so he didn't mind with the Pollock grade sketch I made,
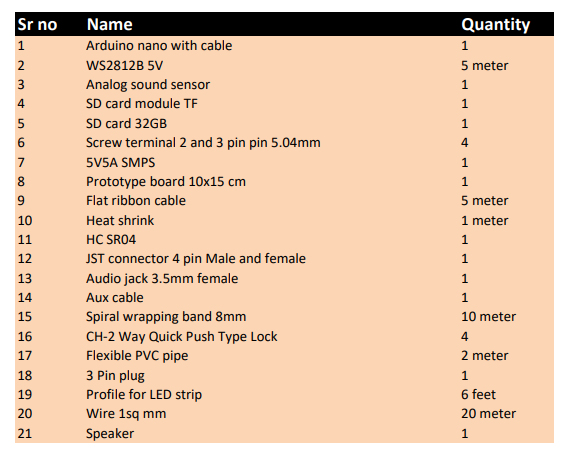
Preparing a list of material required
Based on the project, I made a list of material required. Here are the components used in the project,
Pin connection and programming
After receiving the components, I started to interface them individualy with the microcontroller, Arduino NANO, to figure out the pin connection
and the code for it. Later I stared interfacing the components together like LED with sound sensor and Ultrasonic sensor with SD card module. Special
thanks to Nikhil Shende for helping me initially with
the programming part.
Initially I faced a lot of challenges integrating motion with sound. Sometimes the audio won't switch when the distance changes,
Sometime the audio would switch with the distance but it won't switch immediately. As in it would switch only when the current audio file is
played to its full length,
I then tried using ChatGPT and this was my first time using ChatGPT. The AI generated code helped me a lot to get close to the desired goal. You
will find all the code- for individual compoennts, combined and the final code I used for the project in my GitHub repository,
https://github.com/fenilchandarana/ghatam-ghotala/
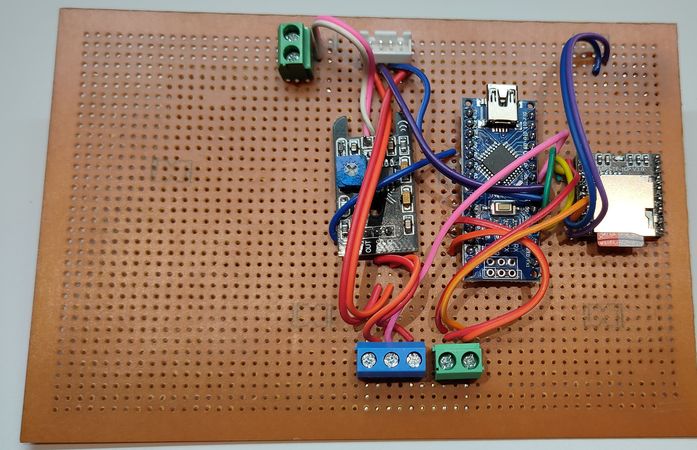
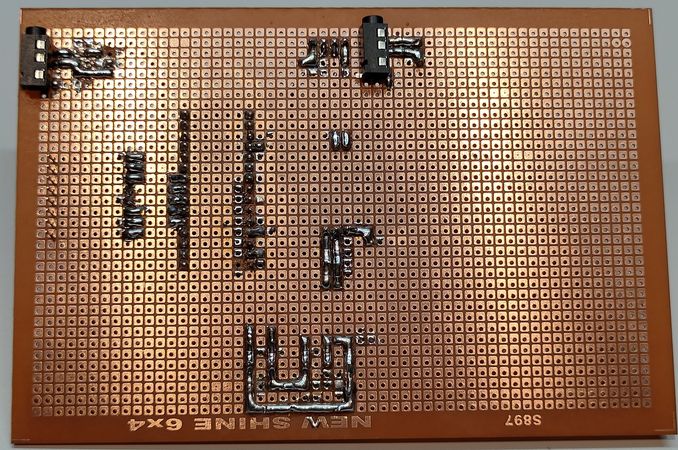
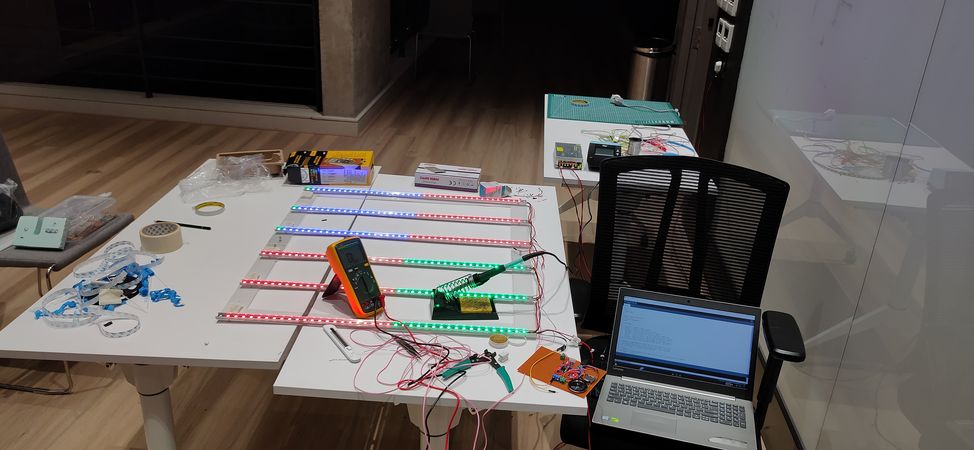
Mounting the cmponents onto Zero PCB
I did the earlier experimentation on the solderless breadboard. Later I mounted all the components onto the Zero PCB and soldered them. I directly
mounted the components like NANO, SD card module while I gave provision of JST connectors to connect the components like LED strip and ultrasonic
sensor.
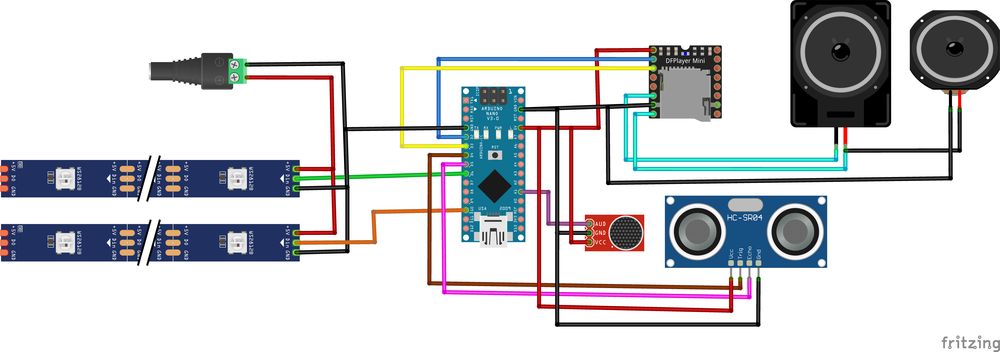
Below is the schematic of the connection. You can download the uncompressed image from the
GitHub repository,
Designing and fabrication
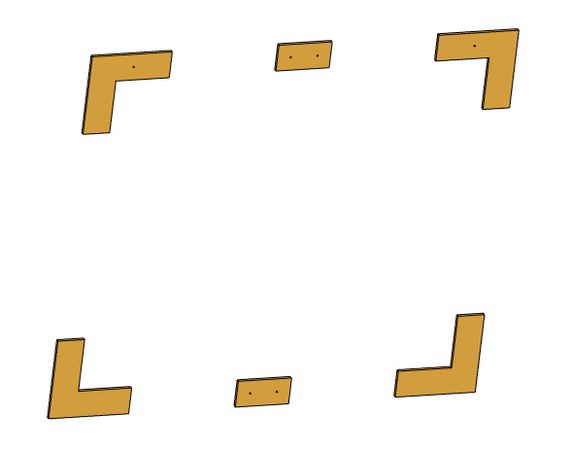
There were two things I had to design,
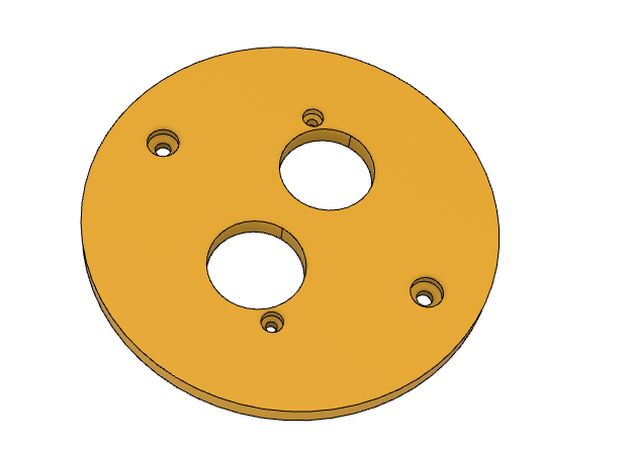
- panel for mounting LED strips
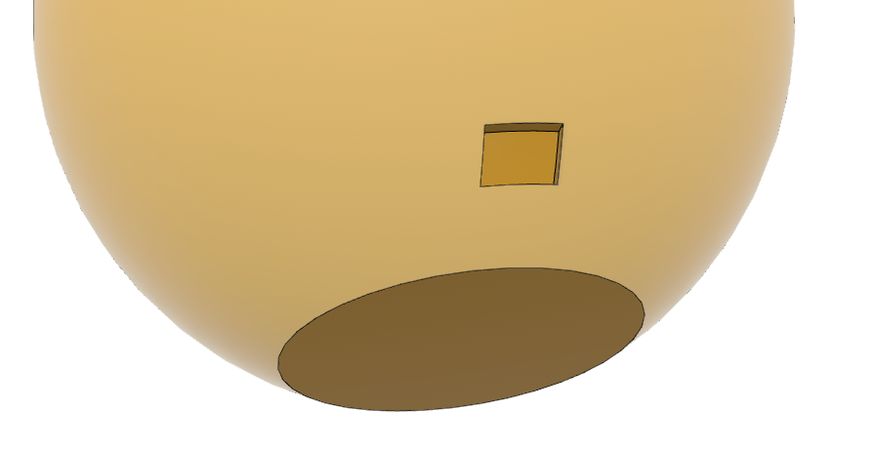
- case for mounting the ultrasonic sensor
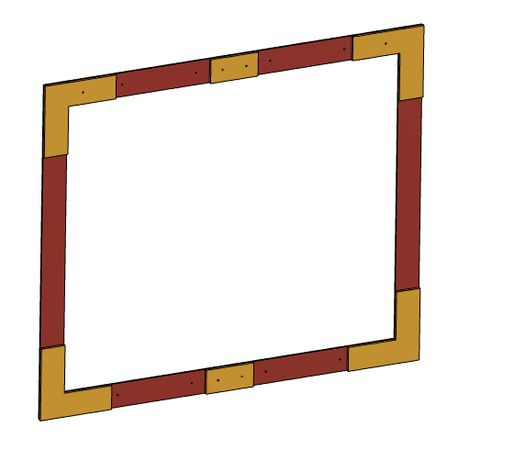
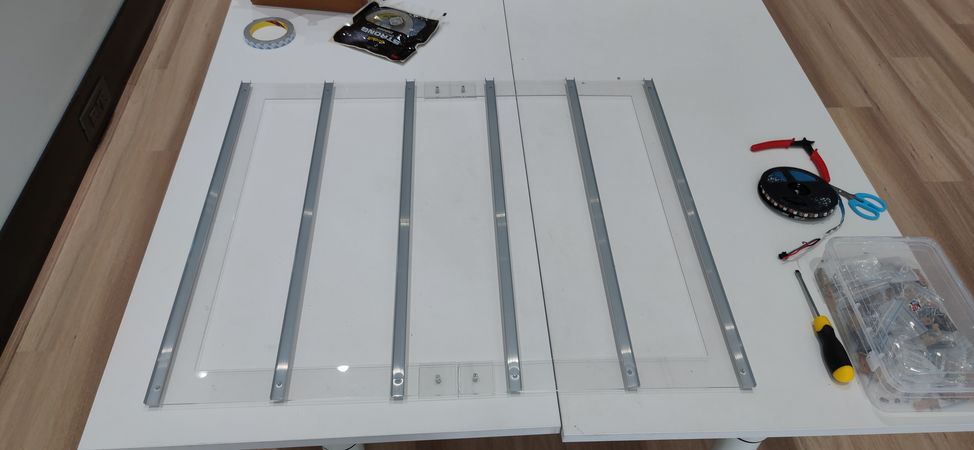
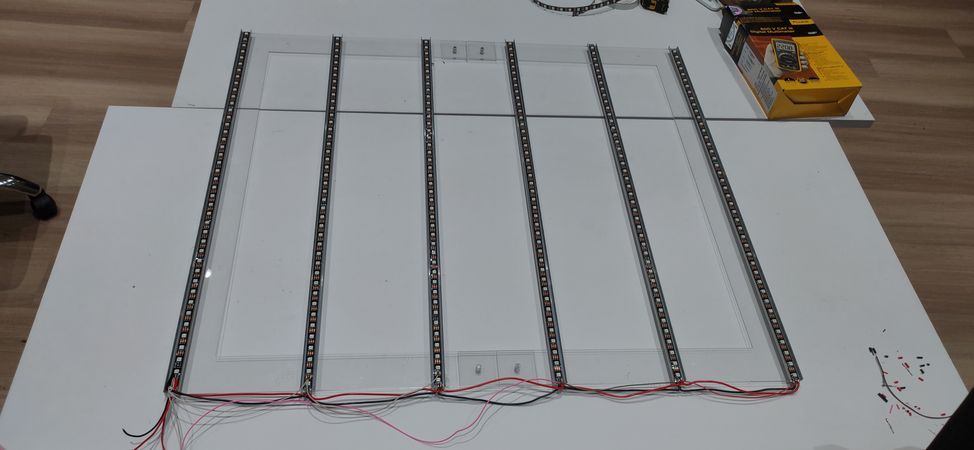
For the LEDs we purchased a profile similar to casing and caping from the local market,
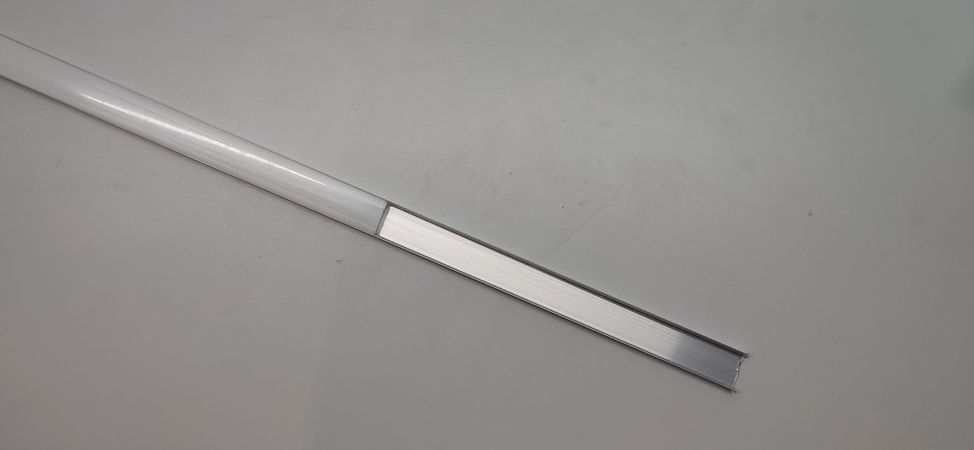
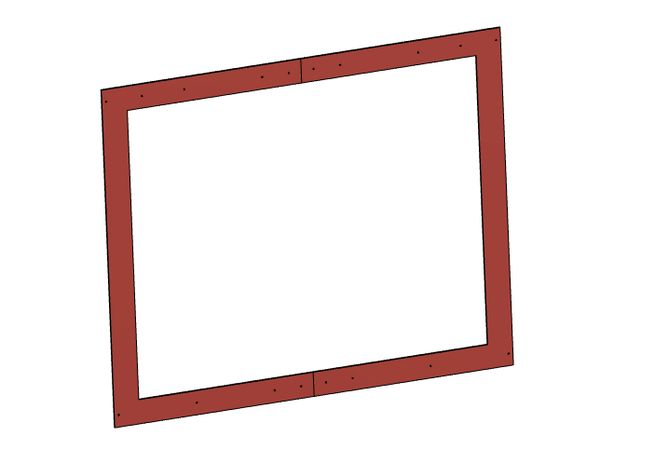
to attach these profiles, I designed a frame with joinnts in Fusion 360 and fabricated them in laser cutter machine using a 3mm Acrylic sheet,
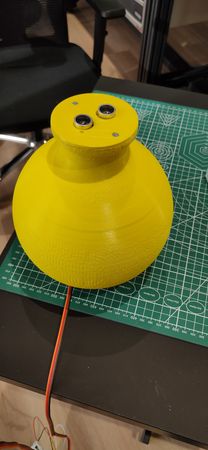
For the ultrasonics sensor casing, I designed a similar looking ghatam to match the size,
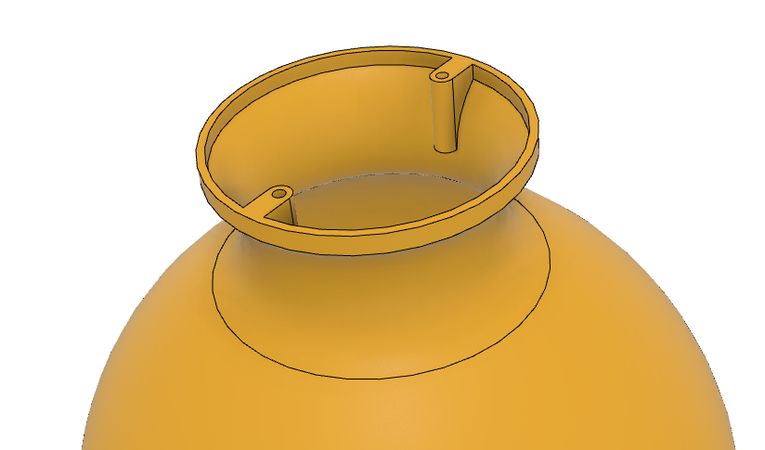
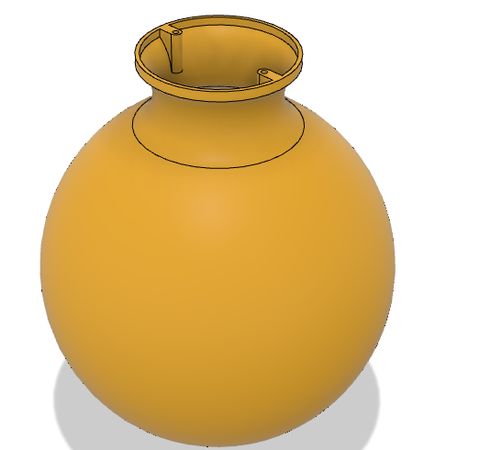
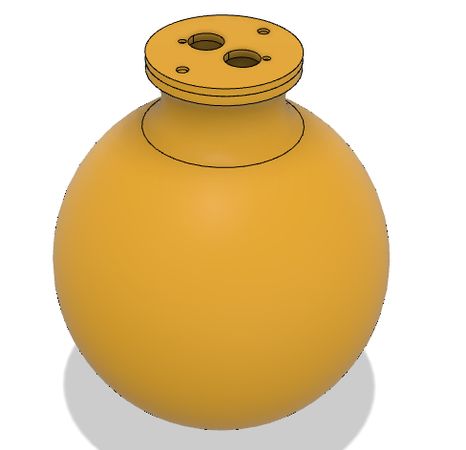
And later fabricated it in 3D printing machine,
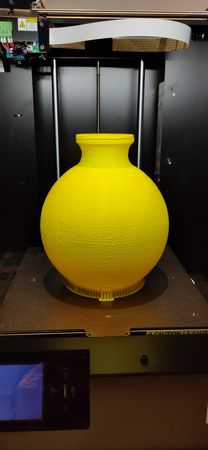
You'll find the STL files and DXF file in the
GitHub repository
as well
Assembling
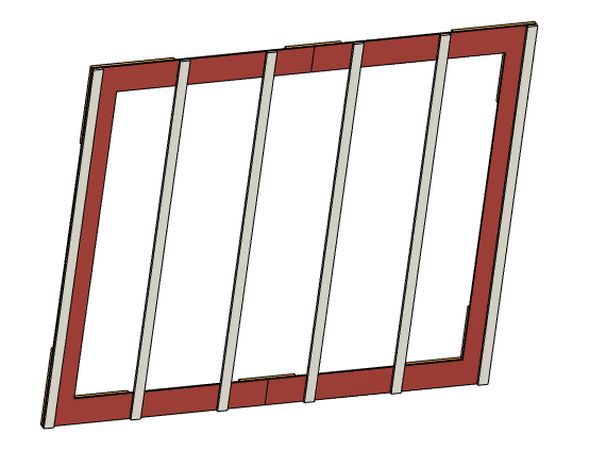
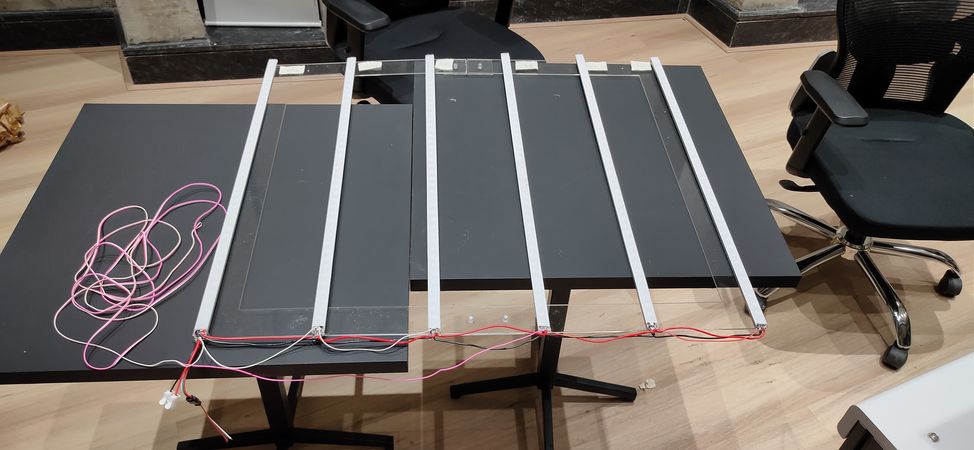
I started the assembling by attaching the profile onto the frame and later sticking the LED strips into it,
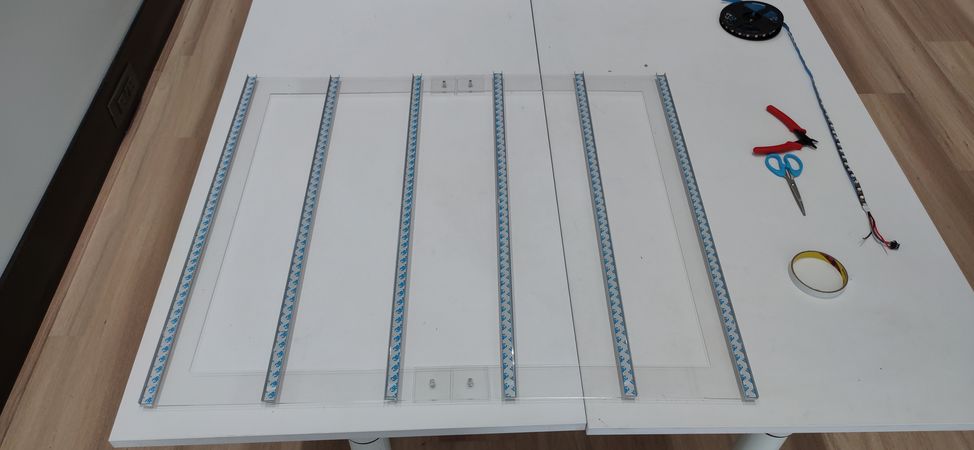
Later i connected the wires to the LED strips and soldered them,
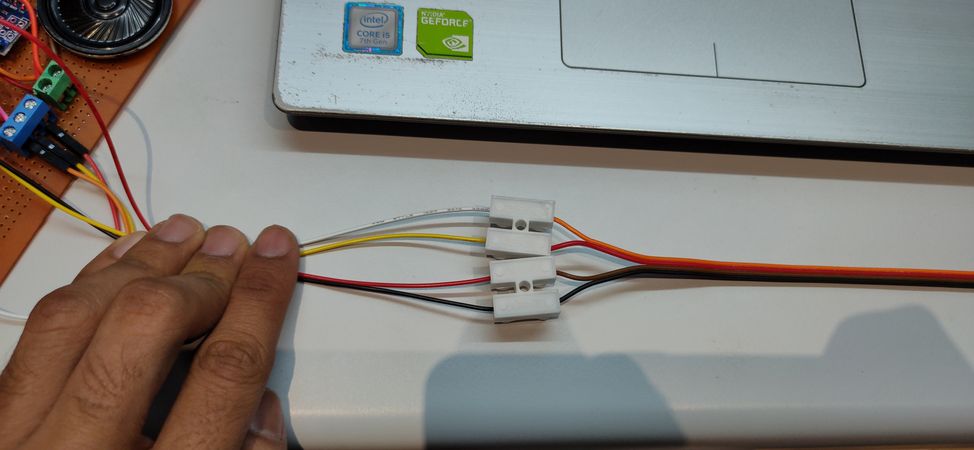
To connect the LED strips and ultrasonic to the microcontroller, I used this kind of connectors so I can easily detatch them when needed,
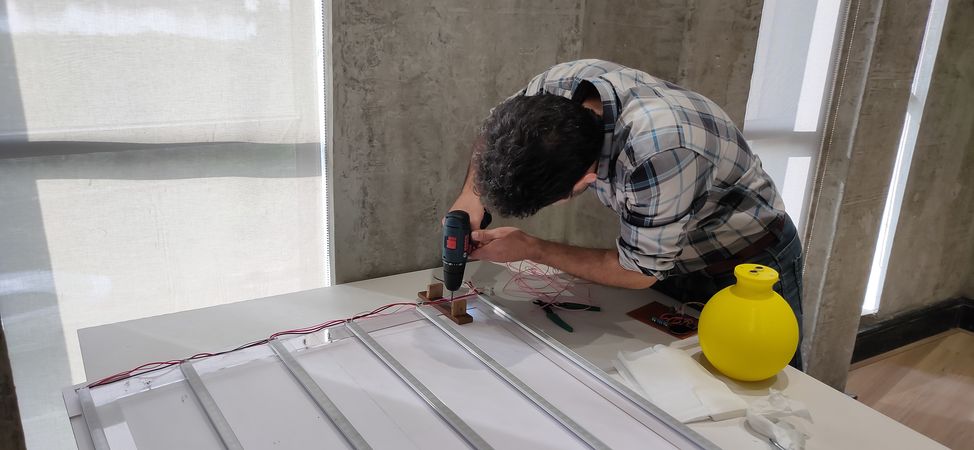
Then
Prof. Arman Ovla helped me with mounting the acrylic border onto the
plywood to make the LED panel robust,
Later i used the spiral wire wrap to wrap around the wires to give better proection and more finished look,
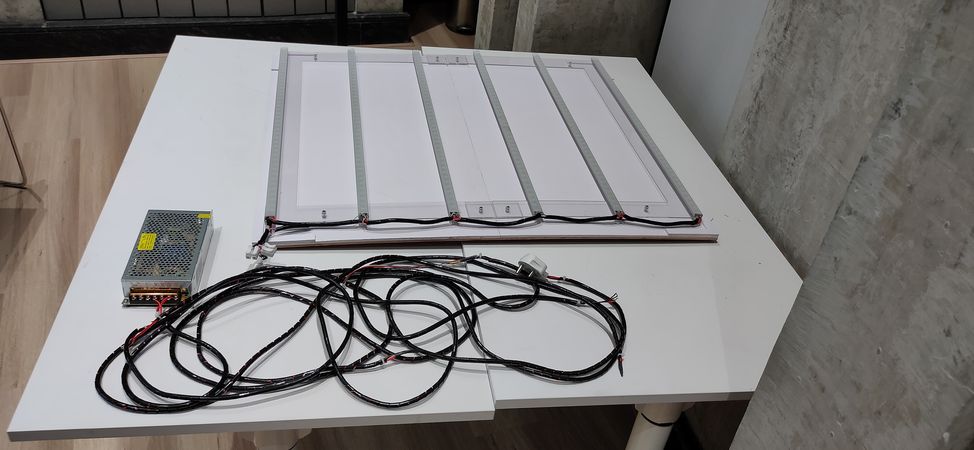
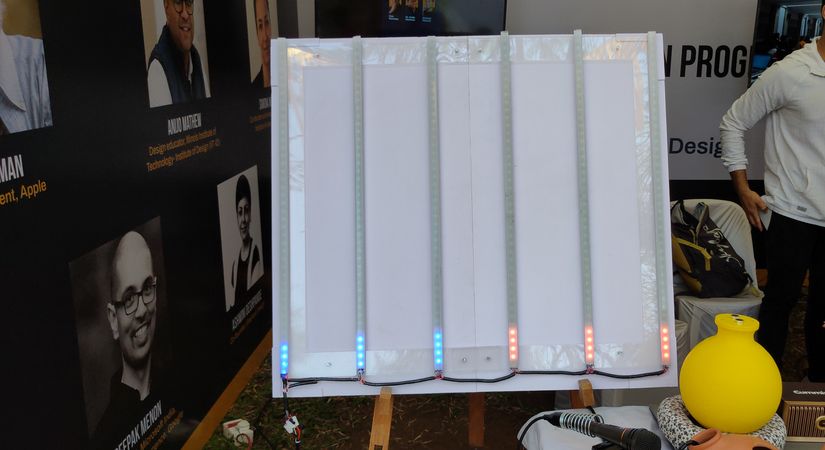
Finally the setup was ready,


Acknowledgements
Thanks to Prof. Shamit Shrivastav and Prof. Amit Kundal for their valuable suggestions and support.Thanks to Prof. Arman Ovla for making those beautiful Ghatams.
Thanks to Nikhil Shende and Pratik Gadkar for their support throughout the project
Thanks to Prof. Swayamsiddha Panigrahi and Prof. Vinod Vidwans for suggesting new ideas during the brainstorming sessions.